
How to Use Pre-Built Shopify Workflow Templates
Automate your Shopify store in minutes. Pre-built Shopify workflow templates help you handle repetitive tasks like tagging customers, sending alerts, and managing inventory - without any coding. These templates save time and reduce errors, giving you more freedom to focus on growing your business.
Key Benefits:
- Speed: Set up workflows in under 5 minutes.
- Efficiency: Automate tasks like VIP tagging, fraud prevention, and low-stock alerts.
- Cost Savings: Prevent stockouts (by up to 95%) and reduce chargebacks (by 40–60%).
How It Works:
- Templates follow an "If This, Then That" logic:
Trigger → Condition → Action - Example: Tag customers as "VIP" when they spend over ₹15,000.
Getting Started:
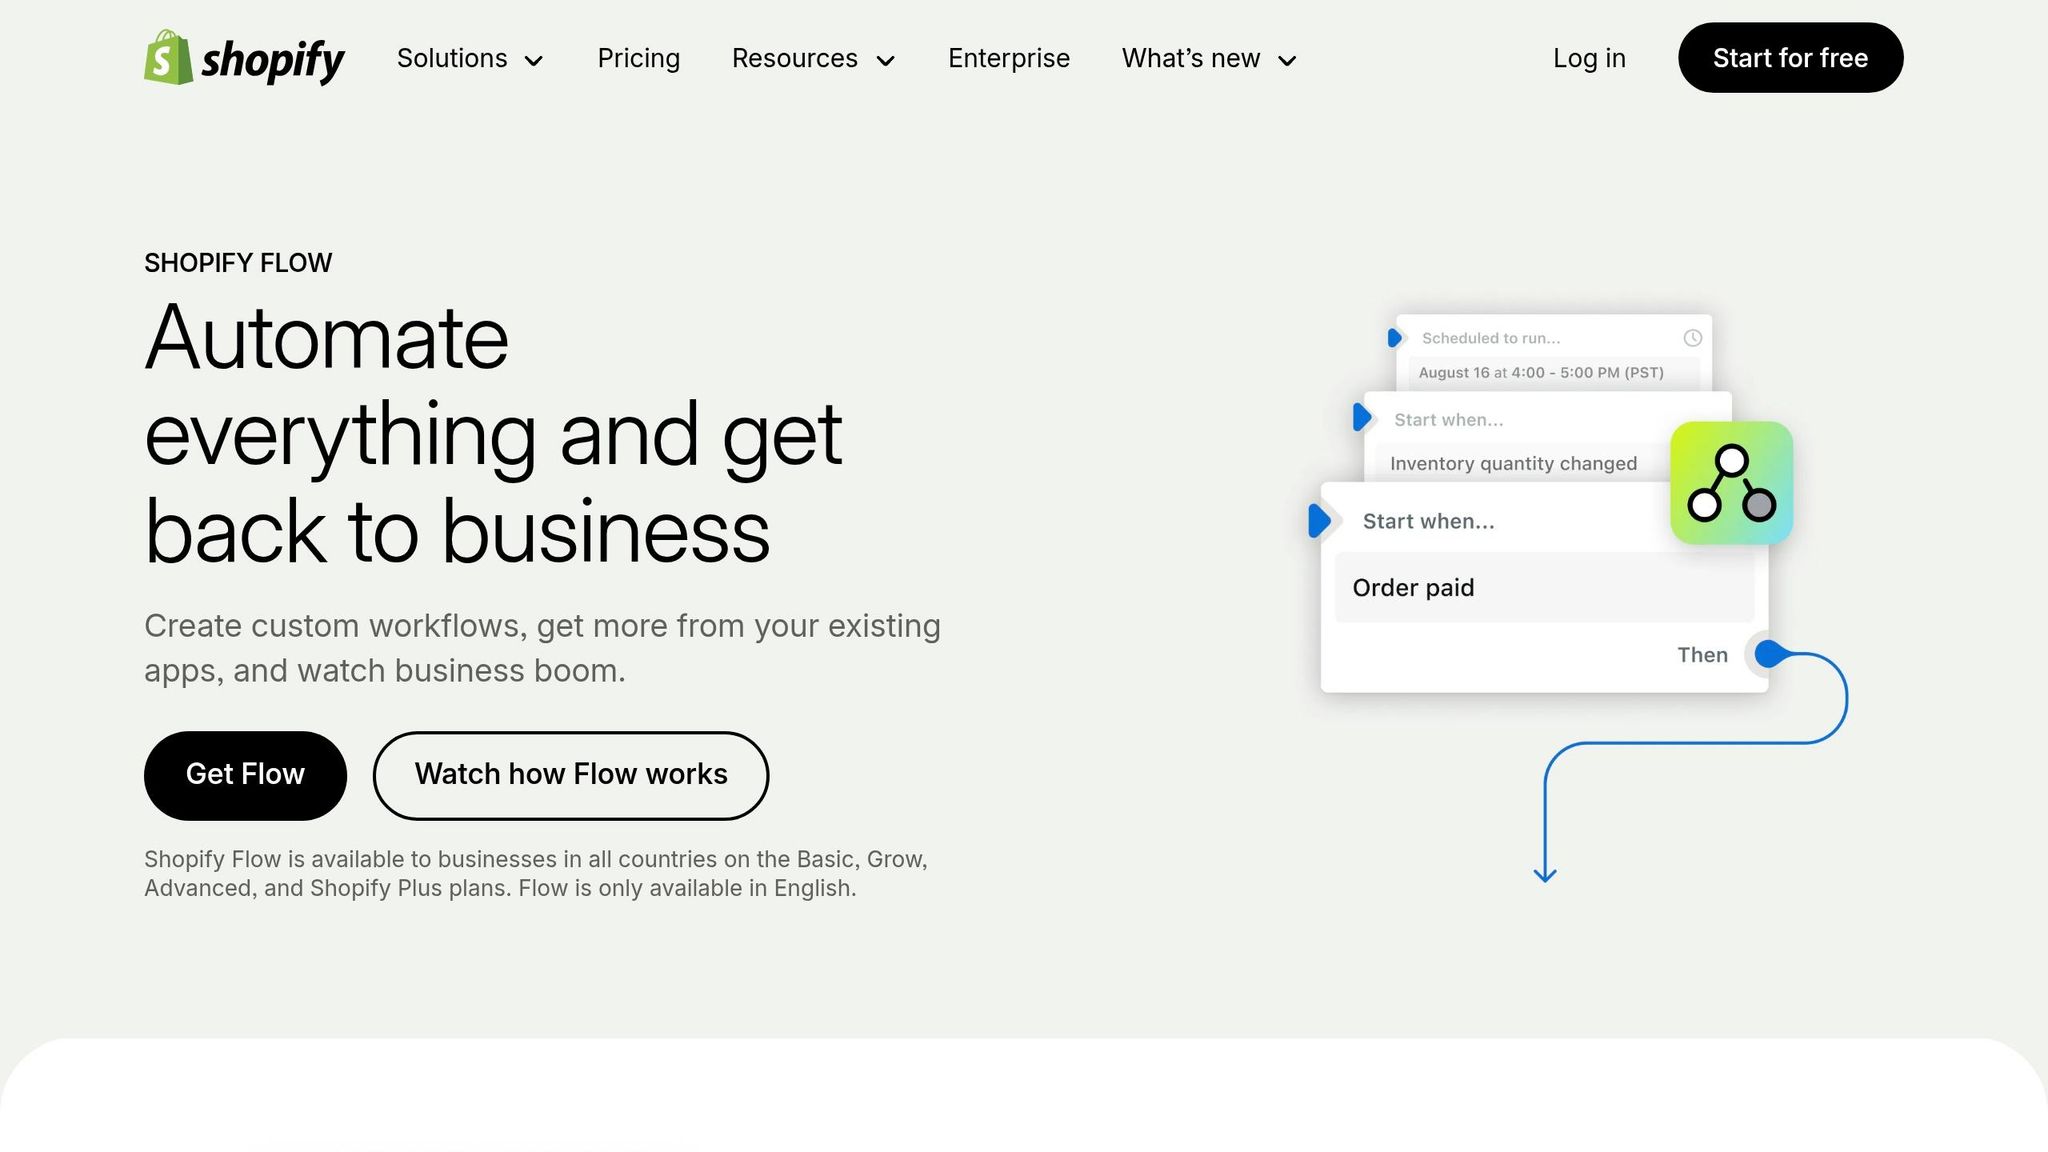
- Install the free Shopify Flow app (available on Basic to Plus plans).
- Browse over 150 templates for marketing, inventory, and risk management.
- Customise triggers, conditions, and actions to match your store's needs.
- Test workflows before activating to ensure they work as expected.
For advanced automation, integrate tools like Messagesuite to send personalised messages across WhatsApp, SMS, and email. This boosts customer engagement and streamlines communication.
Save hours every week by automating repetitive tasks with Shopify Flow templates. It’s quick, straightforward, and helps you focus on what matters most - your business.
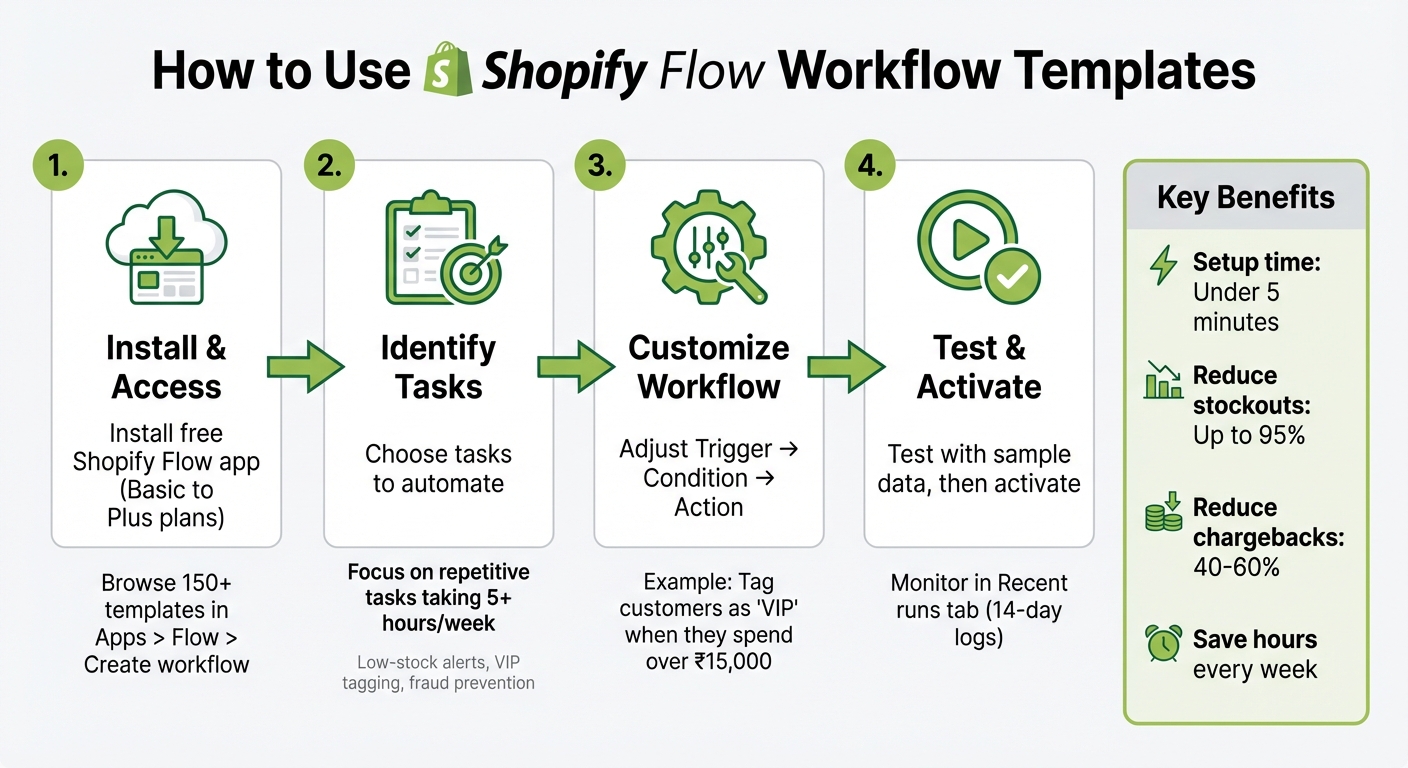
How to Set Up and Use Shopify Flow Workflow Templates in 4 Steps
Using a Shopify Flow Template || Shopify Academy
sbb-itb-e5ef79e
Setting Up Shopify Flow for Workflow Templates

Let's dive into how you can get Shopify Flow up and running to start automating your daily tasks.
Prerequisites for Shopify Flow
Before you get started, make sure your store meets the basic requirements. Shopify Flow is available on plans ranging from Basic to Shopify Plus (₹3,250 to ₹1,92,000+ per month), but it's not included in the Starter plan.
Once you've confirmed your plan, install the free Shopify Flow app from the Shopify App Store. You can find it in your admin panel under Apps > Flow. From there, click Create workflow and then Browse templates to explore automation options.
Keep in mind a few important details:
- Shopify Flow is currently available only in English.
- Full functionality requires a desktop, as mobile access is limited to basic abandonment templates.
- If your team members need to create or edit automations, ensure they have both "Marketing" and "Flow App" permissions enabled.
Once everything is set up, you’ll be ready to identify which tasks in your store will benefit most from automation.
Identifying Tasks to Automate
To make the most of Shopify Flow, start by identifying tasks that are time-consuming or prone to errors. Focus on processes that take up at least five hours per week or involve repetitive manual work. Some common examples include:
- Sending alerts for low inventory.
- Tagging customers based on their spending habits.
- Flagging high-risk orders for manual review.
- Hiding products that are out of stock.
Shopify Flow uses a "Trigger → Condition → Action" framework to structure automation. For example, you could create a workflow to automatically flag orders above a certain value for manual review. Explore omnichannel template automation categories for ideas.
If you’re unsure where to start, try Sidekick AI, Shopify’s built-in assistant. Simply describe what you need in plain language, like "Tag customers as VIP when they spend over ₹20,000", and it will generate a workflow for you in just minutes. This tool can reduce setup time significantly - from 30 minutes to as little as three.
Navigating the Workflow Templates Library
Once Shopify Flow is set up, you gain access to a library of over 150 pre-built templates designed to streamline repetitive tasks.
Accessing the Templates Library
To explore the templates, head to your Shopify admin and navigate to Apps > Flow, then click Create workflow and select Browse templates. This opens up a collection of templates that have been tried and tested by thousands of merchants. These templates allow you to automate everyday business operations with minimal setup.
For marketing-specific workflows, go directly to Marketing > Automations > View templates. This section features templates with built-in analytics, offering insights like reach, sessions, and sales performance.
Keep in mind that templates often require some customisation to fit your specific data. To make your search easier, templates are grouped into categories, so you can quickly find the ones that align with your business goals.
Exploring Template Categories
The library is thoughtfully organised into categories, so you don’t have to sift through hundreds of options. Simply select a category from the sidebar to narrow down your search.
| Template Category | Common Use Cases |
|---|---|
| B2B | Automating company account requests, tagging B2B orders, and sending invoices |
| Customer | Sorting customers by lifetime spend tiers or tagging them by email or postal code |
| Inventory & Merch | Sending low-stock alerts, hiding out-of-stock products, and tracking demand |
| Risk & Fraud | Flagging high-risk orders, holding fulfilment for review, or auto-cancelling fraud |
| Loyalty | Awarding points for repeat purchases, tagging VIPs, and monitoring discount usage |
| Fulfilment | Holding orders based on risk levels or specific shipping methods |
| Promotion | Recovering abandoned checkouts and offering discounts to new subscribers |
The search bar in the library also allows you to find templates using specific keywords like "inventory" or "loyalty". If you use third-party apps such as Slack or Google Sheets, explore the Workflows with connector apps category to find templates that integrate with these tools. Just make sure the necessary connectors are installed.
For inventory workflows, look for templates that factor in both current and previous stock levels, such as those with conditions like "Quantity prior ≥ 10". This approach ensures you only receive one alert per threshold breach, avoiding unnecessary notifications.
Customising and Implementing Templates
Once you've picked a pre-built template, the next step is customising it to fit your store's specific needs. This ensures the workflows align perfectly with your business processes, saving time and reducing errors.
Selecting the Right Template
Start by focusing on tasks that eat up at least five hours of your week. For example, templates like "Tag High-Value Orders" (adds a 'VIP' tag for orders over ₹20,000), "Low Inventory Alerts" (notifies you when stock dips below 10 units), or "Cancel High-Risk Orders" (automatically cancels risky transactions) can help you reclaim time and minimise losses.
Ryan O'Donnell, Director of Marketing at MESA, puts it this way:
The challenge isn't finding templates. It's knowing which ones actually matter for your business.
To decide, think about the outcomes you want - whether it’s time savings, reducing stockouts, or protecting revenue. For instance, setting up low inventory alerts could cut out-of-stock incidents by 85–95%, while cancelling high-risk orders might reduce chargebacks by 40–60%.
Also, check if the template requires specific apps like Slack, Klaviyo, or Gorgias. If you don’t use those tools, don’t worry - you can often substitute their actions with Shopify’s built-in features. For instance, instead of sending a Slack notification, you could opt for a simple internal email.
Once you've chosen a template, the next step is tailoring it to match your store’s unique rules.
Customising Triggers, Conditions, and Actions
Every workflow consists of three main parts: a trigger, a condition, and an action. To make the template work for your store, you’ll need to tweak these elements.
For example, if you're creating a workflow to manage fraud risks, you might switch the trigger from "Order created" to "Order risk analysed." This ensures the workflow activates only after Shopify has assessed the order’s risk level - typically within 1–2 minutes of order creation. O'Donnell explains:
Choose the right trigger, and you automate hours of manual work with a single workflow that runs perfectly every time.
Next, adjust the conditions. Say your template tags customers as "VIP" when they spend ₹40,000, but your business defines VIPs as those spending ₹75,000 - update that threshold. Similarly, for inventory alerts, set higher thresholds for fast-moving products (e.g., 50 units) and lower ones for slower sellers (e.g., 5 units).
Finally, verify the actions. Double-check everything - alert emails, Slack channels, and tag details. Shopify Flow often flags fields that need editing after installation, especially those tied to your store’s unique data. Ensure that email addresses, price thresholds, and tag names align with your store's operations before activating the workflow.
In January 2026, Shopify introduced Sidekick AI, a feature that lets you create workflows using simple natural language commands. For example, you could type, "Tag customers as VIP when they spend over ₹40,000", and Sidekick would generate the workflow for you. From there, you can fine-tune it to match your exact needs.
Testing, Activating, and Monitoring Workflows
Testing Workflows Before Activation
Before activating any workflow, it's crucial to test it thoroughly. Shopify Flow offers a test run feature that lets you preview how your workflow will function without making any changes to your live store.
To run a test, click the test button in the workflow editor and choose a recent event from your store, like a specific order or customer. Shopify Flow will process this real data, showing the exact path the workflow follows through its conditions and actions. The entire process usually takes about 10 seconds.
During testing, internal actions like "Run code", "Count", and "Sum" execute and display their outputs. Meanwhile, external actions such as "Add order tags" or "Send Internal Email" are only simulated to ensure no actual changes are made to your store. This makes the testing process safe while giving you full visibility into how the workflow behaves.
After completing the test, expand the "Step data" section to review the outputs. Check that all conditions, tag names, and email addresses align with your store's setup. If you notice placeholder data, replace it before moving forward. Once you're confident that everything is functioning as expected, you're ready to activate the workflow.
Activating and Monitoring Workflows
After testing, activation is the next step to put your automation into action. Once you've confirmed the test results, simply click "Turn on workflow" to activate it. If you’ve used Sidekick AI to create the workflow, remember that it starts as Inactive, so you’ll need to manually enable it.
Once activated, Shopify Flow tracks all executions in the Recent runs tab. Here, you can filter runs by order, customer, or workflow name, with logs stored for 14 days. These logs indicate the status of each run, such as In progress, Completed, Rate limited, or Cancelled.
Katie Cerar, Product Manager at Shopify Flow, highlights the importance of monitoring:
Since launch, Flow has already automated millions of actions for our merchants. And now with detailed monitoring, we've added transparency into your automation strategy so you can trust Flow is working as you expected.
If a workflow isn’t performing as intended, you can cancel runs marked as "In progress" or "Rate limited" directly from the details page to prevent further errors. For workflows tied to marketing efforts, you can head to Marketing > Automations to view detailed reports on metrics like Reach, Sessions, Orders, Conversion rate, and Sales. This data helps you assess how your automation impacts your revenue.
To test a workflow against a specific past order or customer, navigate to that resource in your Shopify admin. Select "More actions" and then "Run Flow automation" - just ensure the workflow is active before doing so.
Using Messagesuite for Advanced Workflow Automation
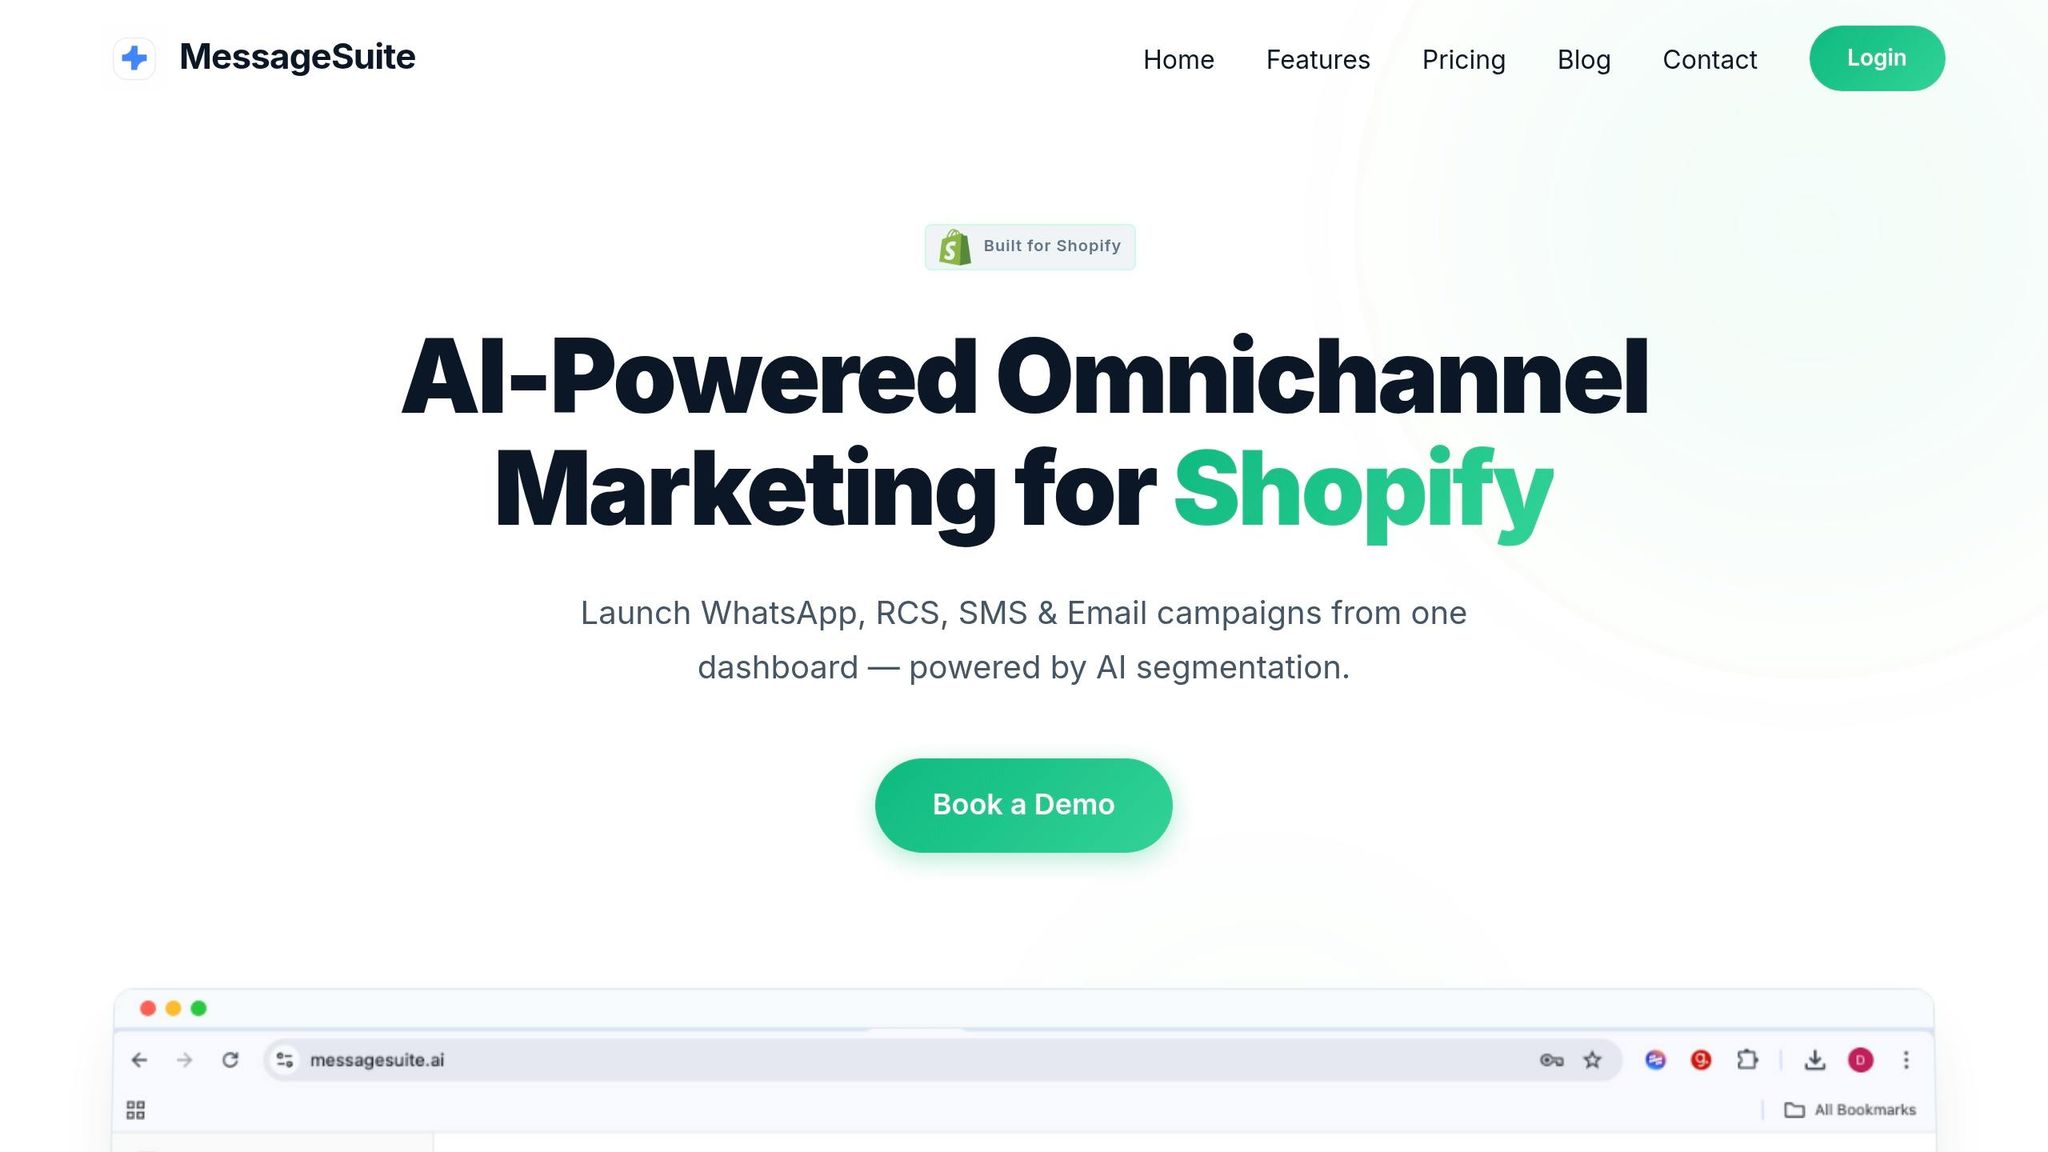
Key Features of Messagesuite
Take your Shopify Flow automations to the next level with Messagesuite, an AI-powered omnichannel marketing platform that combines WhatsApp, RCS, SMS, and Email into one unified dashboard. This setup simplifies customer communication management, making it easier to keep track of interactions across all channels.
One standout feature is its AI-driven customer segmentation. Messagesuite categorises customers based on their behaviour, purchase history, and preferences, enabling you to create highly specific workflow conditions. For instance, you can identify "VIP" customers or group users by product interests to send tailored recommendations.
Additionally, Messagesuite provides real-time analytics to track revenue performance across channels. You can see which campaigns are driving sales, which customer groups are converting the most, and how your automation workflows are impacting revenue. With AI-generated templates, launching campaigns becomes quicker and easier, without sacrificing quality. For stores handling a large volume of customer interactions, the built-in helpdesk ensures no messages fall through the cracks by consolidating all communications in one place. When combined with Shopify Flow, these features allow you to refine workflows and improve customer engagement seamlessly.
Integrating Workflow Automation with Messagesuite
Messagesuite takes your Shopify Flow workflows to the next level by enabling precise, multi-channel actions triggered by real-time events. Instead of relying solely on basic templates, this integration allows you to send targeted communications based on customer actions. For example, after a purchase, you can automatically send a personalised WhatsApp message with product recommendations or follow up with an SMS two days later.
This integration enhances Shopify Flow’s "if/then" logic with AI-powered behavioural triggers. It can detect when a customer might churn, when they’re ready for an upsell, or when they need encouragement to complete a purchase. To use this feature, your store must be on a Basic plan or higher, and staff members need "Marketing" and "Flow App" permissions. Once connected, Shopify Flow’s trigger-condition-action framework works seamlessly with Messagesuite’s analytics and omnichannel messaging tools, enabling workflows that respond to customer behaviour across every touchpoint.
Conclusion
Pre-built Shopify workflow templates make it easier to automate marketing and operations quickly. These templates allow you to set up tried-and-tested automations in just a few minutes - covering everything from inventory alerts to fraud prevention. Thousands of merchants have already relied on these templates, which have collectively saved businesses millions of operational hours.
By focusing on templates that address common challenges - like low-stock notifications, high-risk order flagging, and customer tagging - you can see tangible results. For instance, low-stock alerts can cut out-of-stock situations by 85–95%, while fraud prevention templates can safeguard between ₹1,96,800 and ₹6,56,000 in monthly revenue. To ensure these automations work seamlessly for your store, it’s crucial to test them thoroughly using sample orders.
For businesses ready to scale further, integrating Messagesuite with Shopify Flow takes automation to the next level. Messagesuite adds AI-powered segmentation and omnichannel messaging, ensuring every customer interaction is efficient and personalised. Its real-time analytics let you see which workflows are boosting revenue, while AI-generated templates help you launch campaigns faster without sacrificing quality. When combined with Shopify Flow, Messagesuite transforms basic workflows into advanced, behaviour-driven automations that adapt to customer actions across multiple channels. This frees up your time to focus on growing your business.
FAQs
Which Shopify plan do I need for Shopify Flow?
To use Shopify Flow, you'll need to be on one of the following plans: Shopify Basic, Shopify Grow, or Shopify Advanced. These plans come with tools designed to help you automate workflows and manage tasks more effectively.
How do I pick the best workflow template for my store?
Start by assessing your store's specific requirements - whether it's marketing, order management, or improving customer engagement. Once you have a clear understanding of your goals, explore pre-built templates that align with these needs. These templates are designed to handle common tasks, saving you time and minimising the risk of errors.
Shopify Flow’s template library offers a variety of options that you can browse and customise to match your operations. These ready-made templates make setup easier and help streamline your workflows effectively.
How can I connect Messagesuite to Shopify Flow for messaging?
To integrate Messagesuite with Shopify Flow, you can use third-party tools like MESA to automate workflows. Here's how you can set it up:
- Set up a webhook in Messagesuite: Configure Messagesuite to send data whenever specific events occur.
- Copy the webhook URL from MESA: Obtain the webhook URL generated by MESA and input it into Messagesuite's configuration to ensure data is sent to the right destination.
- Create a Shopify Flow workflow: Use the MESA trigger step in Shopify Flow and customise the payload with liquid variables to include the data you need.
This setup ensures seamless communication between Messagesuite and Shopify Flow, allowing you to automate tasks efficiently.